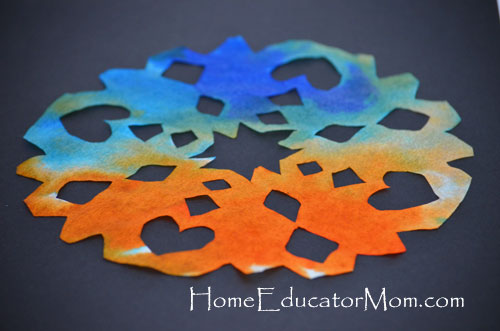
As an extension activity to Snip, Snip… Snow! by Nancy Poydar, we made some coffee filter snowflakes. Instead of leaving it white, I asked the kids to use their imagination and mix the colors that we have been learning at home. This was a fun and interactive activity that I am sure your kids will love as well. Here’s how…
To start, click my post Snip, Snip… Snow! for instructions on how to make some white coffee filter snowflakes.
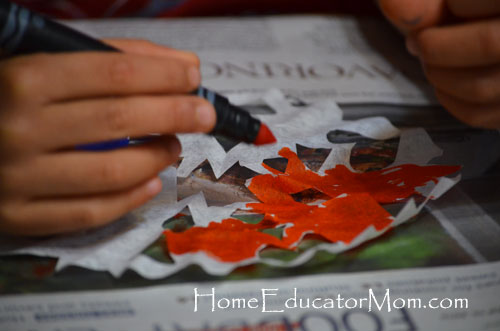
Once you have your precut white paper snowflakes, children can use any color of markers to draw on the snowflakes. The great thing is, no particular design is needed.
Chico’s working on his. I put newspaper underneath the snowflake to keep the ink off the table.
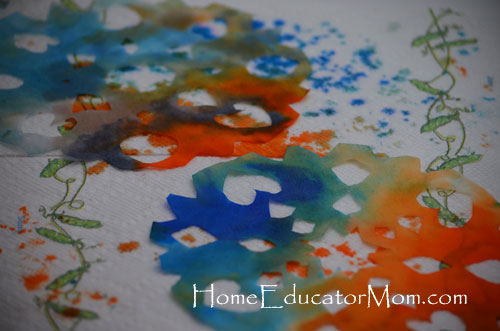
After adding some colors to the snowflakes, using a spray bottle and spray the snowflake until the colors start to blend. Here’s a couple of ways to do this part. Lay snowflake on cookie sheet and have your child spray or an adult can take the snowflake to the kitchen sink and spray it. Let the wet snowflakes drip dry in your hand. Then set it flat on some paper towels to dry.
Wet snowflakes laying flat on the paper towels.
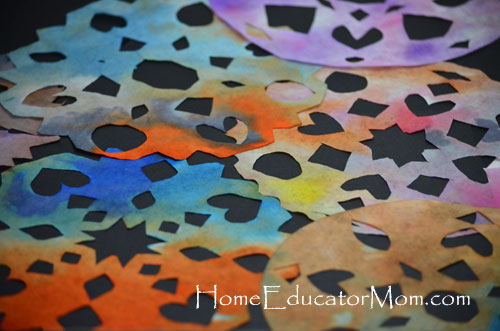
Our beautiful work of art: colorful snowflakes!
Adapted from A Story + Art = A Great stART. For More stART stories, visit A Mommy’s Adventure.
 Hi, I'm Betty and welcome to Home Educator Mom. Whether you are a homeschooling family or not, we’re all called to be our kids’ first teachers. Our desire here is to encourage moms as we walk this path of training and equipping our children. We hope you will stay a while and join us on this journey: learning and sharing life together. Meet our




I love the colorful snowflakes and all the wonderful projects that you’ve done with your kids. I can defintely use your ideas for my first grade class.
Eunice
Hi Eunice,
I’m glad you can use some of the craft ideas. Thanks for stopping by.