Turkey Cabbage Wrap With Quinoa

Turkey-Cabbage-Wrap

I have to admit, a lot of Chinese dishes that are in the restaurants now-a-days are not very healthy.  They are either deep fried or smothered with sauces and most of the time with added MSG.  So, I decided to do my own. I’ve changed and tweaked this recipe from what was originally a Chinese dumpling dish.  As it turned out, the critics loved it…I mean my kids loved it.

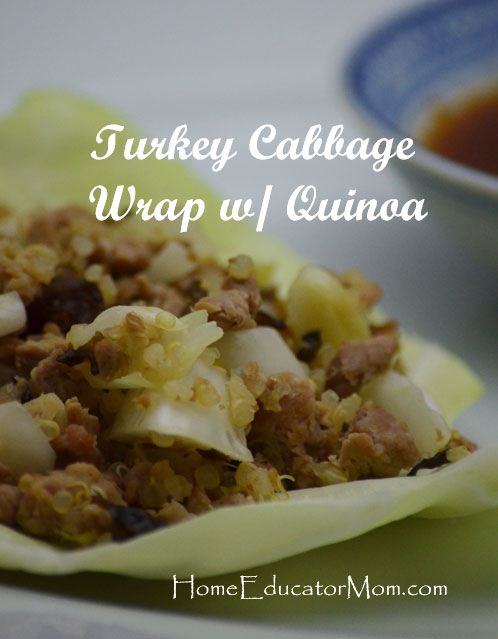
This healthy turkey wrap is one delicious meal with raw cabbage and a heapful of quinoa. To add flavor and pack the meal with more nutrients, I added black fungus.  Growing up, I remember eating black fungus in my egg rolls and some vegetarian dishes that my grandmother cooked, so I tossed in some sliced black fungus and indeed it’s a great complement to this dish. On a side note, did you know that black fungus has been used as a medicinal food in China? It’s got amazingly high levels of iron. To read more about black fungus, see references and my pictures below. Here’s the recipe:

Ingredients:

1 tsp coconut oil (or oil of your choice)

½ cup uncooked quinoa (makes 2 cups cooked, in this recipe you only need one cup cooked, but I usually double my recipe so this works out wonderfully. Cooking less than ½ of quinoa just seems too little to even bother).

1 cup water

2 Tbsp grated ginger

2-3 tsp finely chopped fresh garlic

½ lb ground turkey

1 ½ cup diced green cabbage

9 small dried black fungus-makes about ½ cup soaked and thinly sliced. (Optional)

½ – 1 Tbsp low-sodium tamari soy sauce

15 cabbage leaves


Instructions:

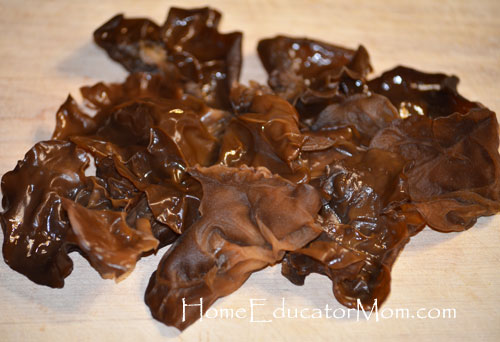
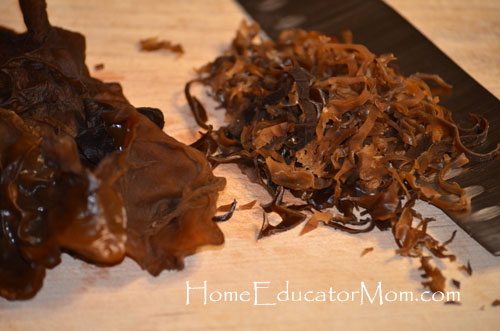
Soak black fungus for at least 20 minutes, then cut into thin slices. (See pictures below) Set Aside.

Put quinoa and 1 cup of water in a pot and bring to a boil. Turn heat down and simmer until all the water is absorbed about 12-15 minutes. Remove from heat, covered and let it sit for 5 minutes. Set aside.

Heat wok or large sauté pan with coconut oil in medium heat. When pan is hot, add ginger and garlic and cook, stirring, for 30 seconds.

Add ground turkey; cook for about 4-5 minutes, stir and crumble meat while cooking. Now add black fungus in pan and cook for about 4 minutes more.

Add diced cabbage and cook for about 2 minutes. We prefer our cabbage crunchy, but if you like your cabbage softer, cook slightly longer to your liking. Then turn off heat.

Add cooked quinoa.

Lastly, mix in tamari to taste. Starting with ½ Tbsp and add more to taste.

Served hot with cabbage leaves drizzled with Orange-Ginger Dipping Sauce. Yum!

Yield: 15 cabbage wraps with 1/4-cup filling or 7-8 wraps with 1/2 cup filling. (for my family of 5, 2 adults & 3 young kids, I have to double the recipe)


 Black-Fungus-whole

Soaked black fungus.

Black-fungus-sliced

Thinly sliced black fungus.

Notes: You can easily substitute cabbage wrap with lettuce of your choice. My kids’ favorite is crunchy Romaine lettuce.


References:
Chinese Food Health


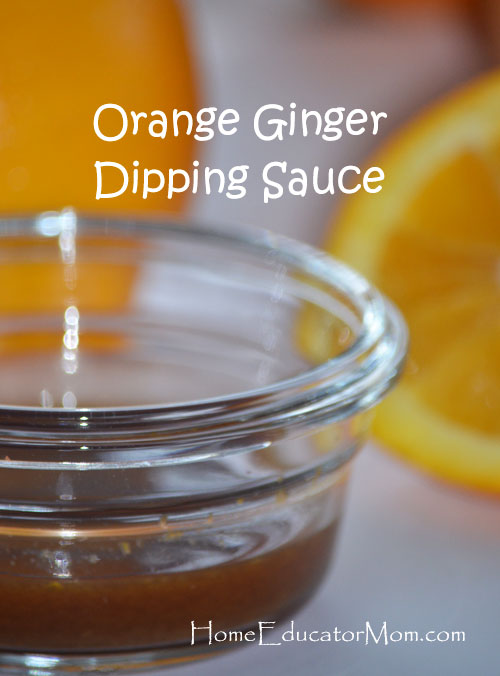
Orange-Ginger Dipping Sauce

Orange-Ginger-Dipping-Sauce

I’ve become a pretty good thrift store shopper since living in Oregon. And I have the habit of browsing through their cookbooks. Here’s what I found…I’m excited to share with you one of the easiest and yummy dipping sauces that I found while thumbing through an old cookbook. It only takes four ingredients. This dipping sauce is not only easy, but healthy and versatile. That means you can easily use it with your favorite Asian veggie wraps, sushi and Chinese dumplings just to name a few. I served this to a friend with a cabbage wrap and she requested this recipe. I hope you’ll like it too.

Ingredients:

3/4 cup (6 fl oz/180 ml) fresh squeezed orange juice

1/4 cup (2 fl oz/ 60 ml) low-sodium tamari soy sauce

1 tablespoon grated orange zest (I prefer organic oranges)

1 teaspoon grated fresh ginger

Instructions:

1. In a VitaMix (or other blenders), puree ingredients for about 5-10 seconds. Pour sauce into small bowl or strain into a small bowl if you need to. (I didn’t need to strain the sauce since my VitaMix did a fine job of blending everything nicely).

Yield: 1 cup (8 fl oz/240 ml)

Use right away or stored in the fridge for up to 3 days.

Recipe from The Taste for Living World Cookbook by Beth Ginsberg and Mike Milken

How to Cook Quinoa

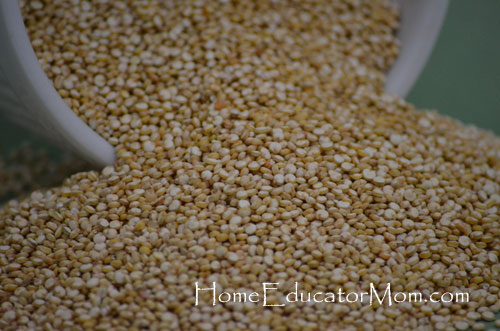
uncooked-quinoa

Quinoa has become a stable in our family for the last couple of years. You might have read some of my quinoa posts in the past. But if you’re new here, you might want to check out some of my yummy quinoa recipes: Quinoa Black Bean Salad and Easy Peruvian Quinoa Chowder. Since our love for quinoa is a growing one, I felt that it deserves a proper introduction!

Quinoa (pronounced Kin-wah) looks and tastes like a grain, but it’s not a grain? Quinoa is closely related to the spinach and beet family that contain antioxidants, heart-healthy fats, and calcium. It’s also high in protein. It can be eaten like rice or barley, but of course, in a hearty soup or salad, quinoa could be served as a standalone meal.

How to cook quinoa:

The ratio of quinoa to water is 1 to 2.

For example:

  •  To cook 1 cup of quinoa, add 2 cups of water to sauce pan.
  • To cook ½ cup of quinoa, add 1 cup of water to sauce pan.

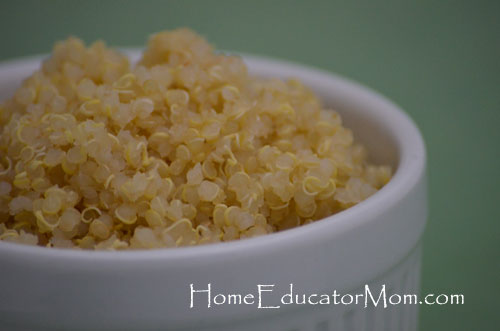
Rinse quinoa before cooking. Put quinoa and water into a pot and bring it to a boil. Cover and simmer at low heat until quinoa absorbs all the water, about 12-15 minutes. Then remove from heat. Keep the lid covered and let it sit for about 5 minutes.

cooked-quinoa


Yield:

1/2 cup of uncooked quinoa makes 2 cups cooked.

1 cup of uncooked quinoa makes 4 cups cooked.


Note: you can substitute water with chicken or vegetable broth.

How to Make Playdough

homemade playdoh

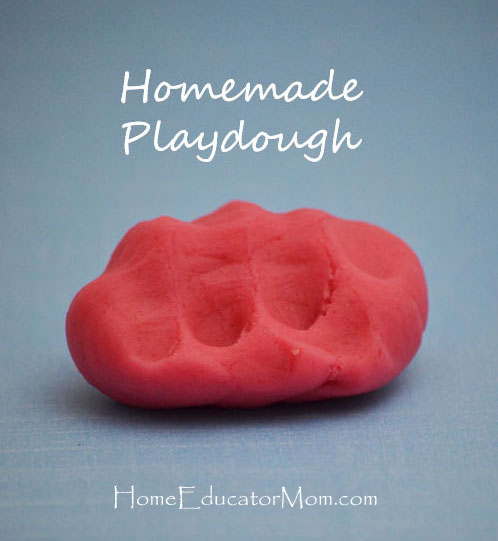
Everyone seems to have their favorite homemade playdough or playdoh recipe. Over the past few years I’ve tried various recipes. But recently, while at my friend Lisa’s house, my little girl and I fell in love with her playdough. It was super soft and it smelled good too. So we decided to make this cooked playdough at home. Here’s what we did.

Ingredients:

2 cups white flour

1 cup salt

2 teaspoon Cream of Tartar

2 Tablespoons cooking oil

2 cups water

5-6 drops of food coloring of your choice

1 Tablespoons vanilla extract


Instructions:

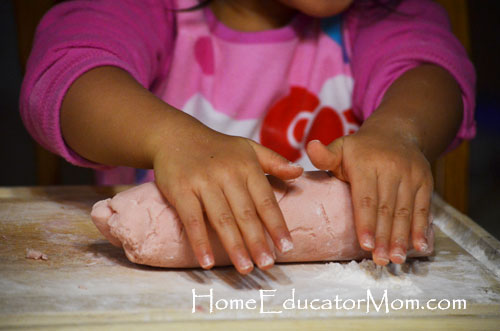
Add all ingredients in a medium pot and heat flour mixture over low-medium heat. Be sure to scrape the bottom constantly. When dough is not drippy, it’s ready to be transferred to a floured surface. We used our big cutting board. Don’t overcook the mixture. It’s okay if dough still seems wet, as long as it’s not dripping water when you try to scoop it. Transfer dough to a floured surface and knead until playdough consistency. Add more flour as needed to ensure playdough is not too sticky.

kneading-playdough

Here’s Mei kneading some playdough on a big floured cutting board.

Playdough-art

Our beautiful playdough art!

Store playdough in ziplock bags or tupperwares and it can last three months or longer.


Jesus’ Escape to Egypt

Jesus' flight to Egypt


In Sunday School this week, I taught the kids about Joseph, Mary and Boy Jesus’ flight to Egypt and God’s protection from Matthew 2. I also did a craft with my kids that I know many readers will want to do with their kids.  You can read the full account at BibleGateWay, a site dedicated to free Bible resources. Here are some activities to help reinforce this lesson that your kiddos are learning.


Memory Verse:

If God is for us, who can be against us? Romans 8:31b


  • Printable Map of Mary and Joseph’s Journeys from BibleWise.


  • Mary and Joseph Escape to Egypt Craft from ChristianEdWarehouse. See picture above for completed craft.


  • Read or listen to this devotional story, “Stormy Weather” from Keys for Kids.