Stained Glass Cross – Easter Craft

 stained-glass-cross Easter Craft for Kids

My boys have been counting down to Easter and looking forward to those Easter egg hunts since the beginning of March. I thought what a better way to emphasize the meaning of Easter by reminding us all of the cross. This is an easy craft that little ones can do. And while working together, we had some wonderful discussions about what Jesus did and his sacrificial death on the cross for us just because He loved us.

Isaiah 53:4-5 came to mind as we enjoyed our Easter craft.

Surely he took up our pain and bore our suffering, yet we considered him punished by God, stricken by him, and afflicted. But he was pierced for our transgressions, he was crushed for our iniquities; the punishment that brought us peace was on him, and by his wounds we are healed.

Materials:

Tissue paper
Wax paper
Craft stick
Scissors
Cut-out crosses
White Glue

Instructions:

1. Cut out squares of colored tissue paper or have your kiddos tear them.

2. Precut some crosses. I used scissors to cut out the inside of the crosses.

3. Roll out a piece of wax paper that is double the width of your cross.

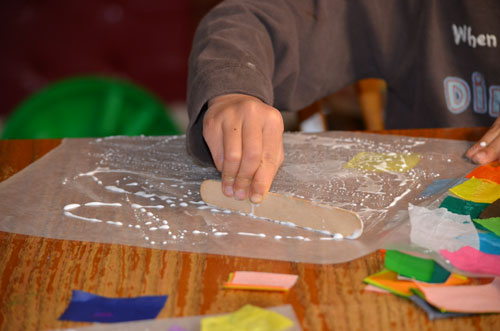
4. Fold the wax paper in half and spread glue onto half of the wax paper using a craft stick.

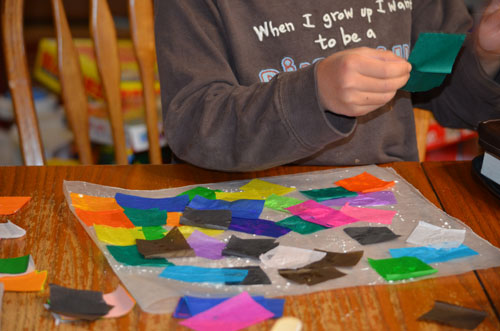
5. Add tissue paper squares to the glued wax paper until all the glue is covered.

stained-glass-crosses

6. Now spread glue all over the other side of the wax paper and fold over on top of the tissue.

stained-glass-crosses

7.Smooth out the paper and let it dry. I put some heavy books on top to help it dry nice and flat.

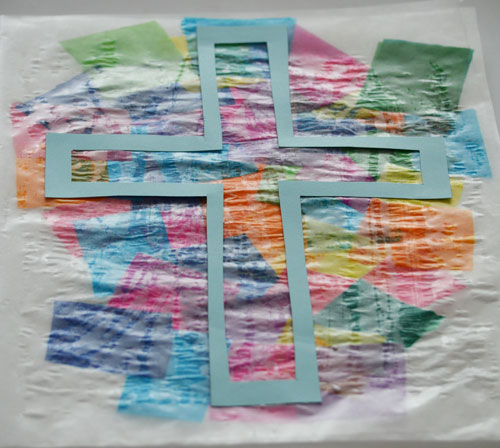
8. Glue the cross to the wax paper, let dry. Then cut out the cross.

stained-glass cross

9. Now you have a beautiful stained glass cross!

stained-glass-cross


Enjoy!


The Calling of First Disciples

Fishers-of-Men

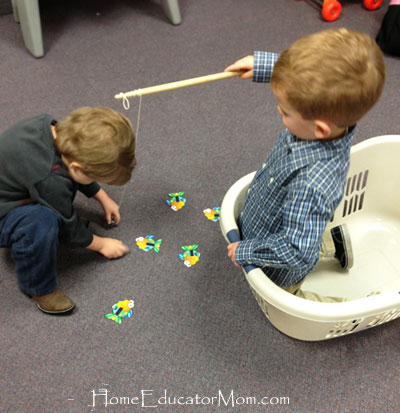
Here’s a few things that we’ve done to help our kids remember the story of Jesus’ early disciples in Matthew 4:18-22. Jesus’ first disciples were fishermen so here’s what we did.

1. To introduce the lesson, I used a fishing game.

Jesus-First-Disciples

How to make fishing game: This is a semi-homemade fishing game (the fish were from another game that we no longer use). The fishing pole was a drum stick with a round magnet hot-glued to the string. Magnets could be purchased at a craft store. Store-bought fishing games would be perfectly fine.

2. I provided my laundry basket for a boat;  a box would work.

3. Make a fish craft.

Fishers-of-Men

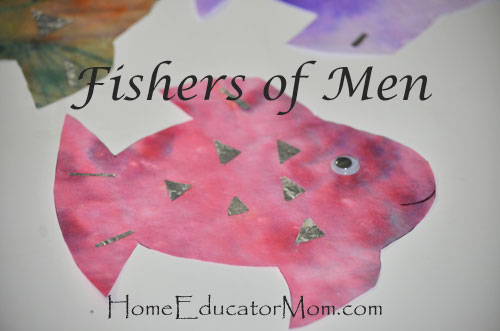
How to make coffee filter fish craft: Coffee filter fish is real easy to make. Provide either brown or white coffee filters. Have students color the coffee filters with markers; no designs necessary. Take colored coffee filters to the sink and wet it with hand or with a spray bottle. Lay coffee filter on paper towel to dry. Using a precut fish stencil and cut out fish shape. Decorate the fish with foil, add a mouth and stick on a googly eye.

Have fun!

To see other coffee filter art work, read Colorful Snowflakes.

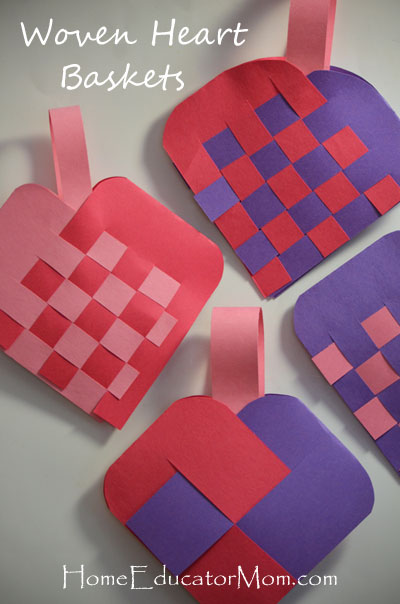
Woven Heart Basket Craft for Kids

Woven-Heart-Baskets

In gearing up for Valentine, I made this little woven hearts baskets with the kids.  This craft is pretty cute and it can be used as a Valentine’s treat baskets. The heart shaped basket is very easy to make and inexpensive.

Materials:

Construction papers

Scissors

Glue/tape/stapler


Instructions:

Cut construction papers in half the long way (the hot dog way).

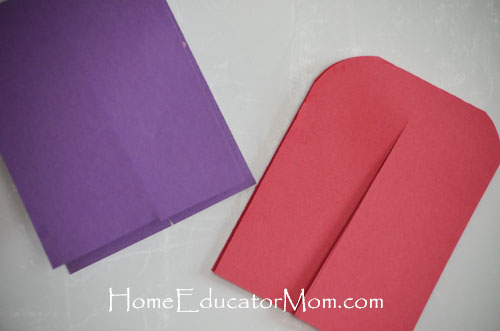
Fold the paper in half, the short way (hamburger way) and make cuts on the open end edge. For young children, I only made one cut. See first picture below. The max number of cuts I made was 4 cuts.

Round the corners on the folded side. (This will give you the heart shape. You can also trim it at the end)

Now do the same with a different colored construction paper. The two colored construction papers for the same basket would need to have the same number of cut strips.

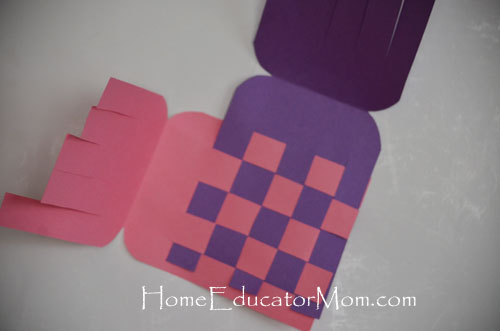
Simply weave the strips together using the “under and over” method, weaving the bottom first, then join the tops together. Refer to second picture below.

After the weaving is done, you can glue/tape or staple your basket together and lastly, add a handle.

woven-heart-basket

For very young children, just make one cut on the paper.

Woven heart basket craft for children

This picture shows the bottom of the basket already woven.

Woven-Heart-Baskets

Enjoy!


Grasshopper Craft for Kids

Grasshopper

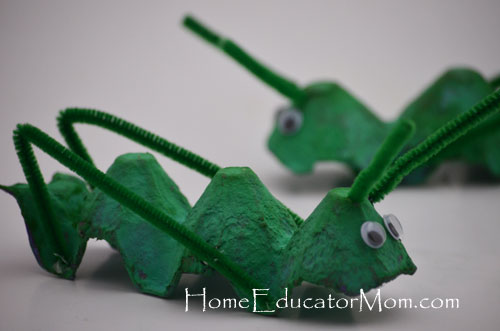
Last week our kiddos learned about John the Baptist and Jesus’ baptism in their Sunday School classes. To help reinforce the lesson,  we made some egg carton locusts or grasshoppers. Now they all remember what John the Baptist ate. (Adult supervision needed with exacto knife and glue gun)

Materials:

Egg carton
Tempera paint
Pipe cleaners or chenille stem
Wiggly eyes
Glue
Exacto knife or other sharp object for poking holes
Hole puncher (optional)
Glue gun (optional)

Instructions:

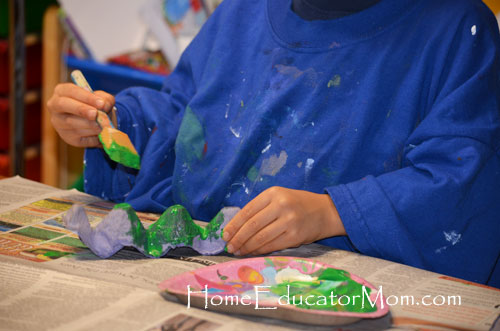
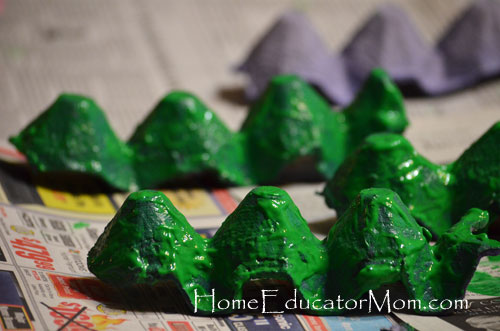
1. Cut a 3-cup strip from a paper-type egg carton, paint it green and let dry. It’s better to have a little “ledge” on each side of the egg cartons for attaching the legs.2. Bend pipe cleaners to form the grasshopper legs. There’s a couple of ways to attache the legs. You can either hot glue them down or use a hole puncher to punch four holes and stick the pipe cleaners through the holes and twist them in place.

3.Now cut two holes (I cut two “X”) in the head and poke a pipe cleaner through for the antennae.

egg carton grasshoppers egg carton locust

Painting the grasshoppers.

John the Baptist egg carton grasshopper craft locust craft

Painted grasshoppers set aside for drying.

John the Baptist grasshopper craft for kids

Enjoy!

I got this idea from Pinterest: Motherhood on a Dime.

How to Make Playdough

homemade playdoh

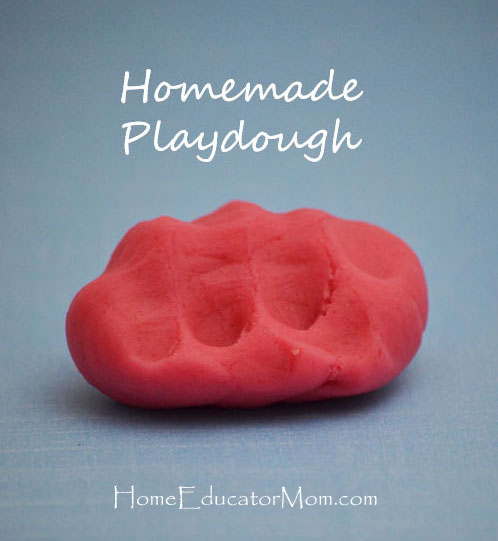
Everyone seems to have their favorite homemade playdough or playdoh recipe. Over the past few years I’ve tried various recipes. But recently, while at my friend Lisa’s house, my little girl and I fell in love with her playdough. It was super soft and it smelled good too. So we decided to make this cooked playdough at home. Here’s what we did.

Ingredients:

2 cups white flour

1 cup salt

2 teaspoon Cream of Tartar

2 Tablespoons cooking oil

2 cups water

5-6 drops of food coloring of your choice

1 Tablespoons vanilla extract


Instructions:

Add all ingredients in a medium pot and heat flour mixture over low-medium heat. Be sure to scrape the bottom constantly. When dough is not drippy, it’s ready to be transferred to a floured surface. We used our big cutting board. Don’t overcook the mixture. It’s okay if dough still seems wet, as long as it’s not dripping water when you try to scoop it. Transfer dough to a floured surface and knead until playdough consistency. Add more flour as needed to ensure playdough is not too sticky.

kneading-playdough

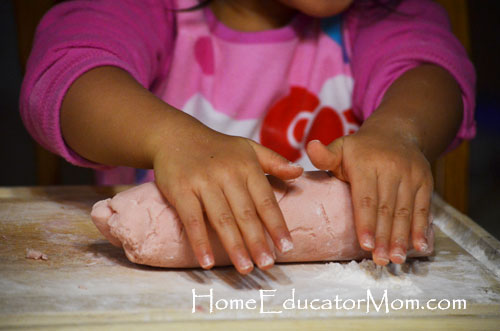
Here’s Mei kneading some playdough on a big floured cutting board.

Playdough-art

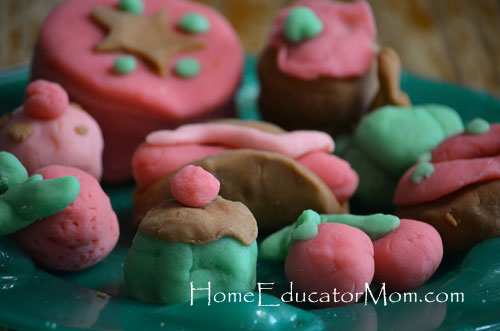
Our beautiful playdough art!

Store playdough in ziplock bags or tupperwares and it can last three months or longer.