Thankful Basket

As we enter into this season of thanks, I wanted to create a home environment where my kiddos can express their thanks to God for His blessings. At the beginning of the month, we started our Thanksgiving tree. Now we wanted to share with you our thankful basket. This simple activity not only helps all us to recount our blessings, but is also a language arts lesson. This is how our thankful basket works.

Materials:

Basket or another container
paper
pen or pencil

Instructions:

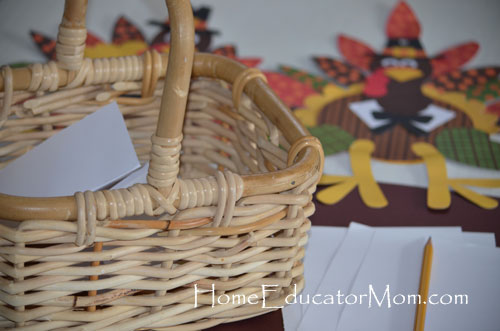
Set a basket, precut papers and pencil on a table.  Anyone in the family can write and drop their thankful messages into the basket. On Thanksgiving day, we’ll pass around the basket and read some or all of the messages.

Note:

Since Buddy’s learning to write, I encouraged him to write as much as he wanted for himself and help his siblings. He did so eagerly. He’s learning without even knowing it!

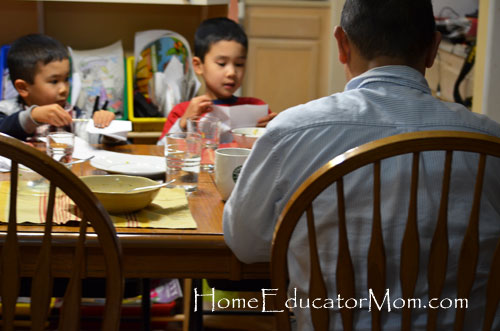
The day before Thanksgiving, we passed the basket around after dinner and we read all the messages in the basket. Here’s Buddy reading one of them.

Do you have a favorite Thanksgiving activity that you would like to share. Please drop a note in the comments sections.

Adapted from Shirley Dobson’s books Let’s Make a Memory.
Roasting Your Own Pumpkin Seeds

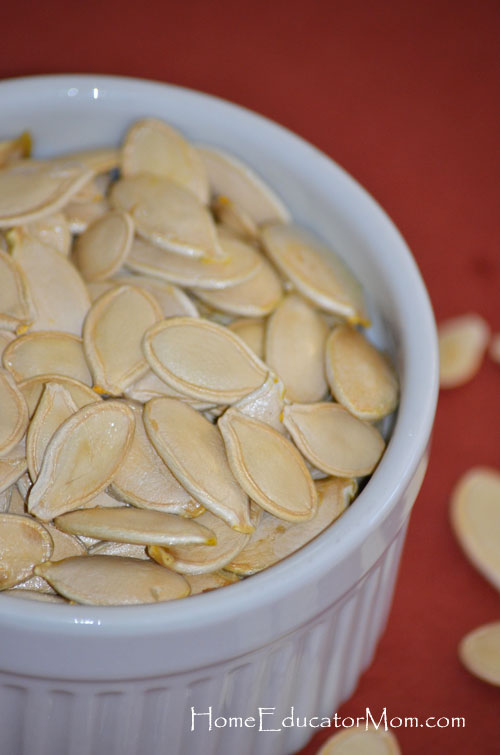
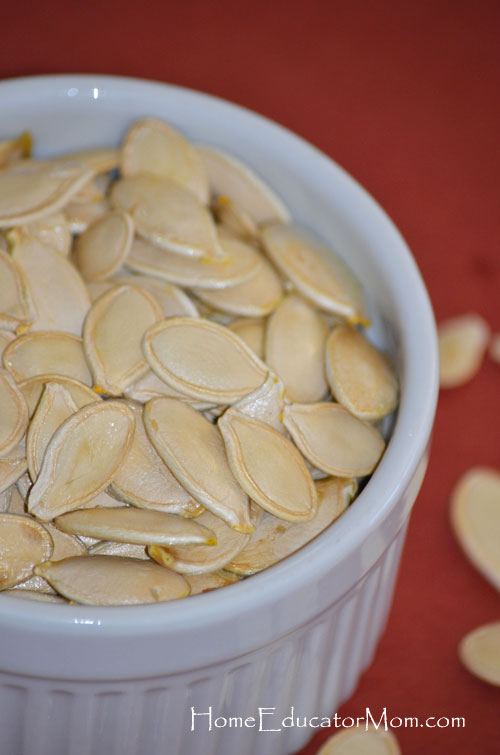
If your kids are anything like mine, they love seeds and nuts for snacks.  So, when I told them that we would roast the pumpkin seeds from our pumpkin carving activity, they were all into it.  On a side note, did you know that pumpkin seeds is a good source of protein, iron and vitamin K?

While you can truly roast your pumpkin seeds at 400 F, I prefer to slow cook mine at a lower temperature. Spice up your seeds with additional herbs and spices, such as garlic salt, melted butter, ground cinnamon, all spice to name a few or just stick with the basics, a dash of salt and a little oil if needed. And that’s just what we did.

Ingredients:

Pumpkin seeds, about 1 1/2 to 2 cups, cleaned and rinsed
1 teaspoon Salt
1 teaspoon of oil-Optional
Cookie sheet (I used my glass Pyrex)

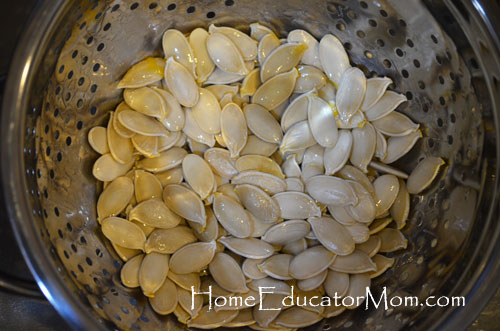
Pumpkin seeds in my metal strainer.

Instructions:

1. Rinse pumpkin seeds until free of pulp and strings using a strainer.
2. Preheat over to 300 F
3. In a large bowl, add pumpkin seed and toss with salt and oil (optional). If you’re working with dry seeds, oil will help the salt and other spices to stick to your seeds. But if your seeds are still wet, you can even skip the oil. At this point, add additional spices and mix well.
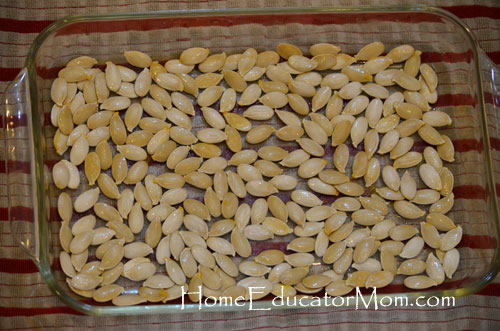
4. Spread pumpkin seeds onto your cookie sheet evenly in one layer.
5. Bake in oven for about 30 min-45 min or until your pumpkin seeds are crisp.

Tip: In the past, I’ve burned my pumpkin seeds in between diaper changes, so do stay close and keep an eye on them.

One healthy snack for you and your family. Enjoy!

What do you do with your pumpkin seeds? Share your ideas in the comment section.

Halloween Candy: Creative Ways to Use Them

Now that Halloween is over, what are you going to do with all those candies. Between the candies my kiddos got from a harvest party and the ones we bought for trick-or-treaters, we have three beach buckets left. I could save all the candies and let them eat it, or, being a homeschool mom, I wanted to use it as a teaching tool.  This subject is not on math, science, or health, but on the act of service.  I wanted to get the kids started into this holiday season with the mind set of serving others rather than receiving.   There is a program called Halloween Candy Buyback where local dentists can register and buy back Halloween candy from neighborhood kids.  The dentists then send them to the troops overseas. I just thought that this is just a great way for me to teach the kids about serving others and about the men and women in our armed forces, our American Heroes.

Here’s what you need to do.  Go to Halloween Candy Buyback. Once you’re at the site, type in your zip code to find a local dentist in your neighborhood. Give the dentists a call for their specific times that they’ve set aside for this event. Then have your kids pack up the candies and visit the dentist with them.

Wait…before dropping off those candies, here are some fun learning activities you might want to consider especially if you have young kids.

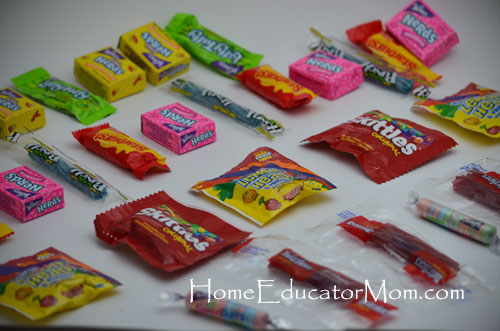
Buddy used those candies for his patterning lesson in math.

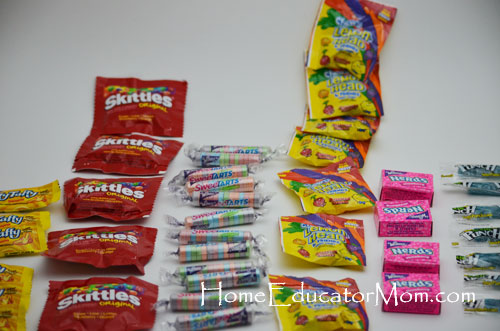
Both Buddy and Chico lined up those candies to make a candy graph. Since Buddy is older, I gave him harder questions as he compared the candies on his graph. With Chico, we talked about the ideas of more and less.

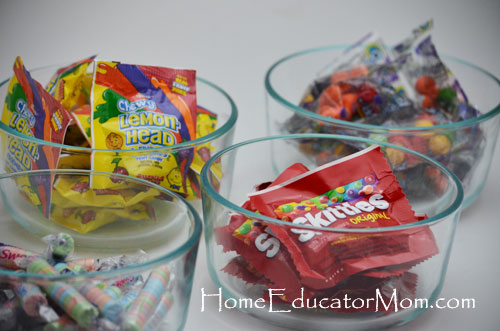
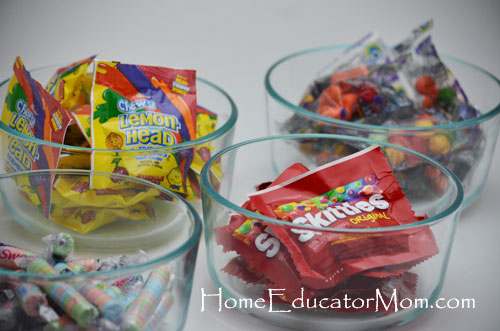
I asked Mei to sort the candies. I demonstrated to her by putting one of each kind of candy in each container and asked her to put the same candies in those containers. She did a great job in her sorting lesson.

There’s also counting by ones, twos, tens, even hundreds if you have that many. For language arts lessons, you might use names of the candies to reinforce letter sounds, beginning sounds or even reading all the names of the candies depending on your child’s levels. How about nutrition lesson? Learning what’s in candy might help your child understand why too much candy is not good for our bodies.

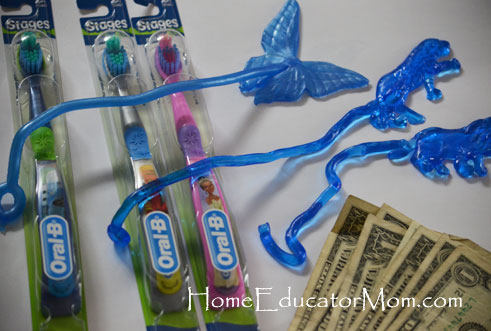
This is what our local dentist from the program gave the kids. New toothbrush and a new toy for each child and $1.00 per pound of candy (we got $8.00 back!)

Hopefully this will give you some great ideas on what to do with your Halloween candies. I’d love to hear what you do with your candies. Please share in the comment section.

Easy Pumpkin Carving Ideas

No-carve pumpkin designs are definitely easier and cleaner than your carved ones, but with the right tools, carving a pumpkin is not too difficult.

Tools:

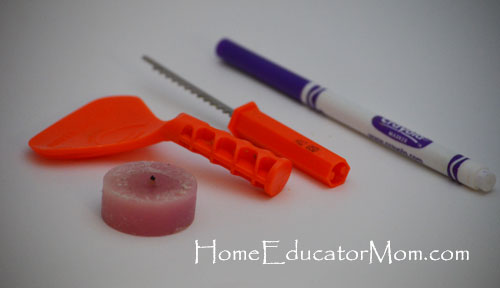
 You should be able to find these at Walmart or Target stores. They even carry these carving tools at the Dollar Tree stores. Amazon.com also sells them if you prefer to shop online. I got these tools at the local dollar tree for…well…you guessed it…a dollar (no tax in Oregon).

Instructions:

1. Cut a hole in the top for the lid. Make sure to angle the saw inward so the pumpkin lid remains seated on top instead of falling through.

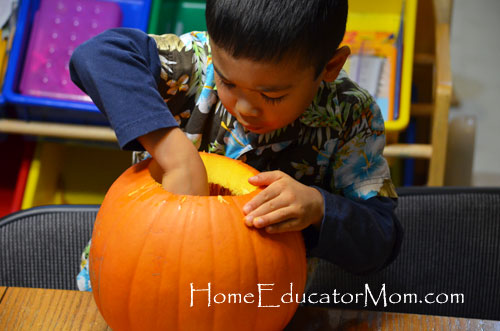
2. Scoop out the seeds and strings. My boys used their hands to pull them out.

3. Some people like to scrape out some flesh around where you’ll be carving to make the carving job easier, but, Bubba didn’t do that.

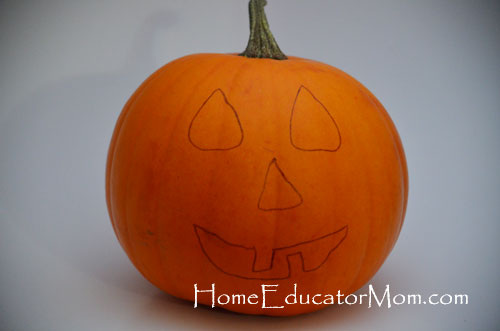
4. Using a washable marker, draw your design and carve. There are tons of free templates available online. But we wanted to make it simple and easy so we just used a washable marker and drew our own designs.

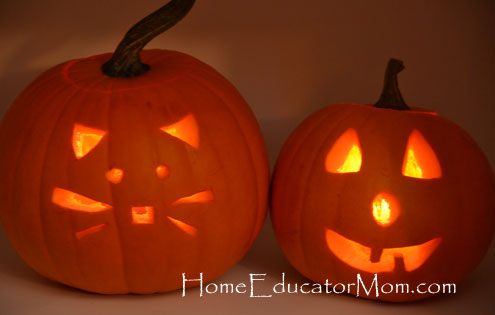
Here’s one design:

Just a two-teeth happy face.

 Using his hands, Chico pulling out seeds and strings.

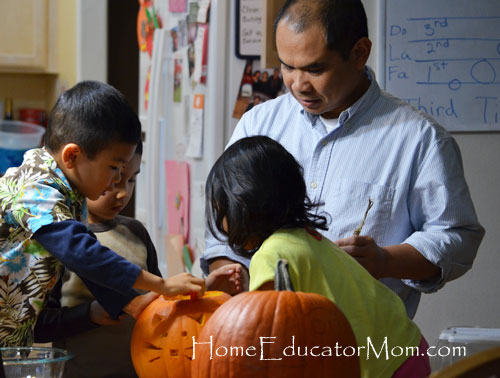
Over here, pumpkin carving is a family affair.

You noticed the little pumpkin got a round nose instead of the triangle one that I drew? Well, I changed my mind. So that’s the beauty of using washable markers. You can easily wipe off and redo your design.

Kitty and Happy Face sitting side by side.

As a companion to this activity, your family might like to read The Pumpkin Patch Parable by Liz Curtis Higgs . This children’s book is great for Christian families that wish to bring the Christian perspective to Halloween. To read the complete synopsis see my post on 10 Fall Books for Children. Another great book I highly recommend is How Many Seeds in a Pumpkin? by Margaret McNamara. A great way to introduce estimating and counting your pumpkin seeds.

Have a happy and safe Halloween!

Fall Leaf Rubbings

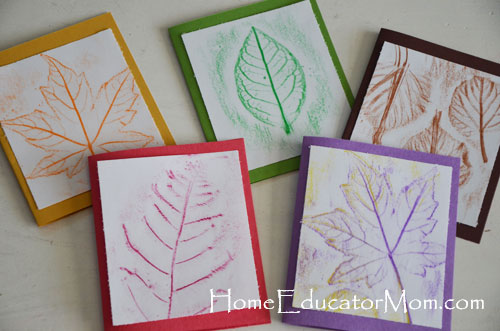
If you have not done leaf rubbings before, it’s a fun and easy activity for you and  the kiddos. For you, it’s not messy making cleanup a breeze. Also, you can transform the product into notecards or thank you cards.  For the kids, it’s an art project that is easy to learn and fun for all ages! Here’s the process and how I made the thank you cards.

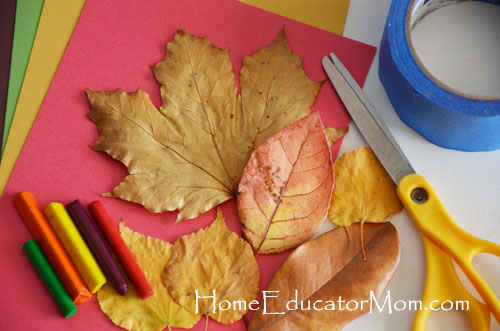
Materials:

fall leaves (preferably flat ones)
tape (any kind)
scissors or sliding paper cutter
crayons (without paper wrapper)
thin white paper
colored construction paper (or other colored card stocks for notecards): Optional

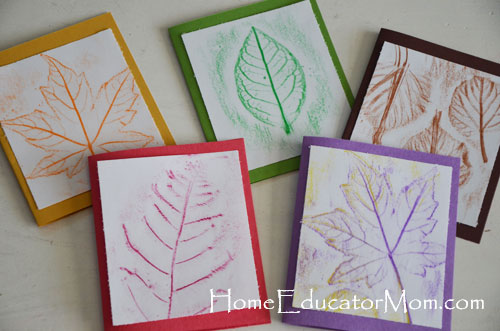
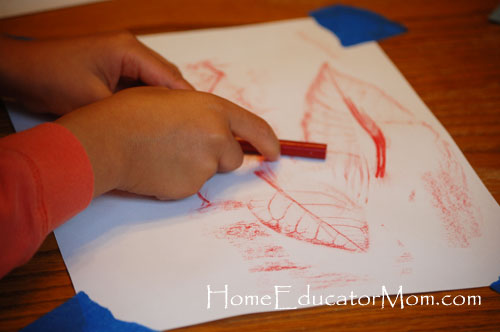
Put a leaf or leaves facing down so veins are facing up. Put white paper on top of the leaves. Tape down the paper corners to hold it in place.
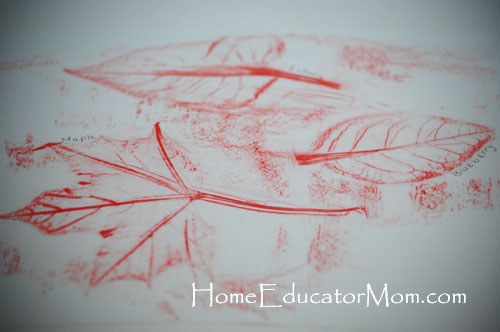
Rub the side of crayon where the leaves are.

Beautiful leaf rubbings framed or simply tacked onto your bulletin board for a touch of fall.

I trimmed some leaf pictures and pasted them onto precut construction-paper notecards.

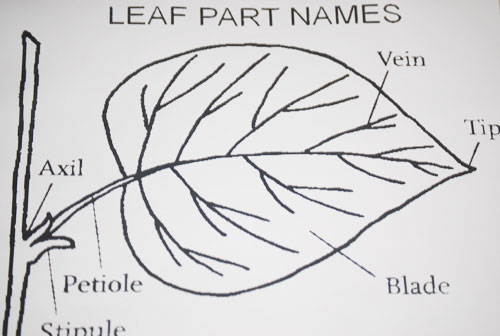
For further study of leaves, being the homeschool mom, I printed out this leaf-part diagram and used it as a study tool. I went over it with my kids before starting this craft project. They decided to color this page after their leaf rubbings.

Click Leaf Part Names for a copy of this leaf coloring page.

For beautiful pictures of fall leaves, check out children’s books Leaf Man by Lois Ehlert and Leaf Jumpers by Carole Gerber. For a list of fall books for children, read 10 Fall Books for Children.

What fall activities does your family enjoy? I’d love to hear from you. Please share in the comments.