Kids’ Construction Zone

My kids love the outdoors, and what a better way to integrate learning in their outdoor activities. One fun summer activity that my kiddos enjoy is what we called, Kids’ Construction Zone. We have a small structure area with slide and two swing sets within this rectangular box filled with wood chips. This is our construction site.  To add to the fun, I bought some hats and dump trucks from a local thrift store. We’ve also collected some gardening tools over the years so this is a part of their construction set. (The best time to pick up some gardening gear is after spring when stores try to get rid of their merchandise.)

Prior to their play, we talked about what we see at a construction site: what the workers wear, signs they see, and colors.  As a result, the following pictures are the creativity and learning experience while they play.

Things we have in our Kids’ Construction Zone: (I’m sure you’ll come up with other fun items)

  1. Kid’s Gardening Gloves
  2. Dump Trucks of varies sizes
  3. Hard Hats
  4. Shovels
  5. Trowels
  6. Hoe
  7. Hand Rakes
  8. Buckets
  9. Old Vinyl Table Cloth (if your kids wanted to make a sign)

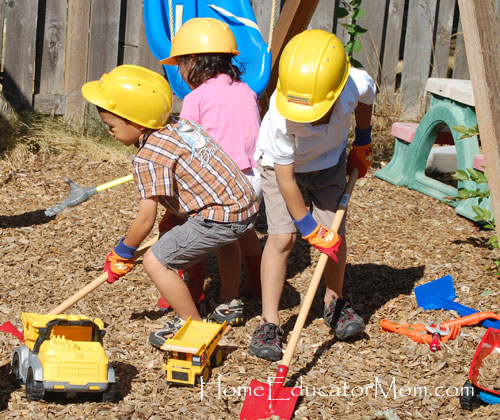
Here are my three workers ready to start their day!

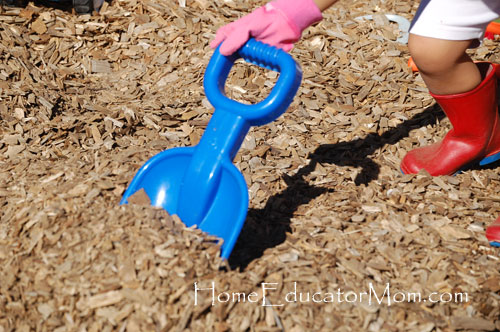
Mei scooping with her hand-held shovel.

Digging and filling their dump trucks.

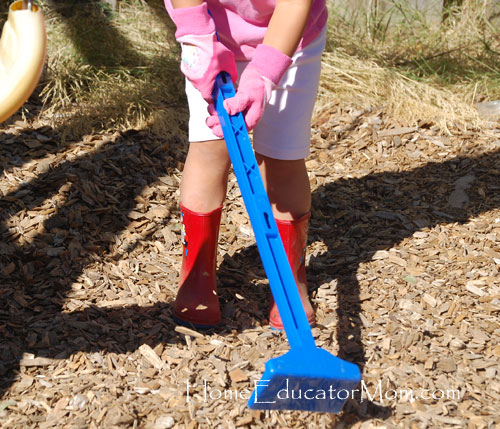
Mei hoeing.

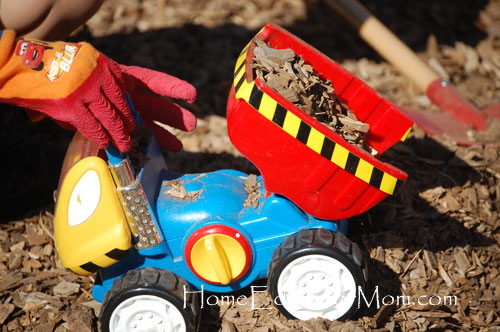
This cool dump truck actually tilts when a knob is turned!

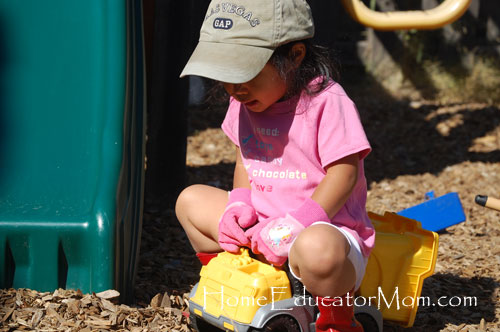
This dump truck is pretty good for riding too!

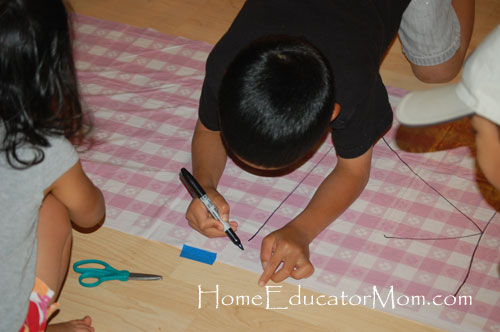
Day 2: Buddy, my big boy, wanted to make a sign. I provided him with an old vinyl picnic table cloth (so it’s waterproof) and now all the sibblings are helping.

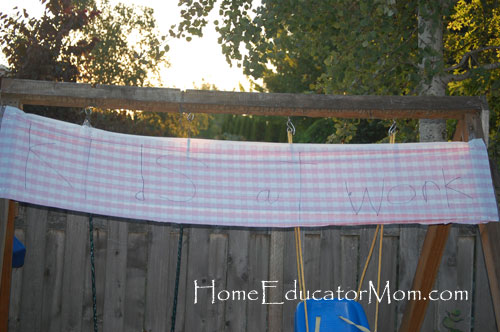
We hung that sign.  “Kids at Work” sign is up and now it’s official!

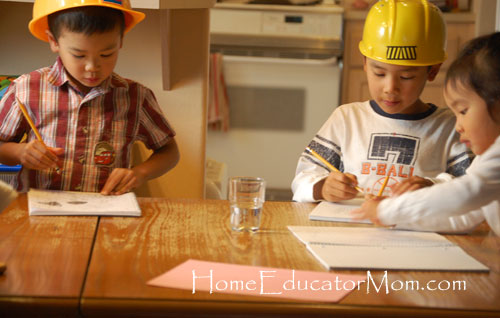
Now the three kiddos record their fun in their journals.

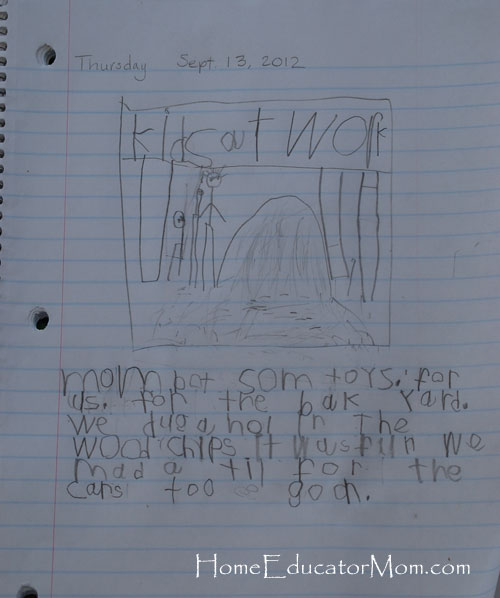
Here’s Buddy’s journal entry for his time at the Kids’ Construction Zone. He was told to draw a picture and write about it. This is his effort in sounding out words. In the meantime, Chico and Mei were just drawing whatever came to mine like apples and bananas.

As an extension, your kids might like:

Mike Mulligan and His Steam Shovel.

For more  great ideas on outdoor activities, visit Flights of Whimsy.

And there you have, an outdoor activity that’s fun, inexpensive, and a great learning tool.  Do you have your own that you would like to share? Please comment.
Kids’ Construction Zone

My kids love the outdoors, and what a better way to integrate learning in their outdoor activities. One fun summer activity that my kiddos enjoy is what we called, Kids’ Construction Zone. We have a small structure area with slide and two swing sets within this rectangular box filled with wood chips. This is our construction site.  To add to the fun, I bought some hats and dump trucks from a local thrift store. We’ve also collected some gardening tools over the years so this is a part of their construction set. (The best time to pick up some gardening gear is after spring when stores try to get rid of their merchandise.)

Prior to their play, we talked about what we see at a construction site: what the workers wear, signs they see, and colors.  As a result, the following pictures are the creativity and learning experience while they play.

Things we have in our Kids’ Construction Zone: (I’m sure you’ll come up with other fun items)

  1. Kid’s Gardening Gloves
  2. Dump Trucks of varies sizes
  3. Hard Hats
  4. Shovels
  5. Trowels
  6. Hoe
  7. Hand Rakes
  8. Buckets
  9. Old Vinyl Table Cloth (if your kids wanted to make a sign)

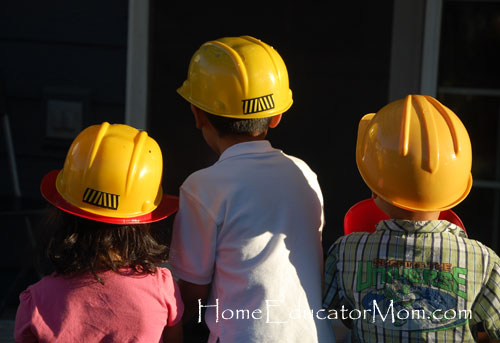
Here are my three workers ready to start their day!

Mei scooping with her hand-held shovel

Digging and filling their dump trucks.

Mei hoeing.

This cool dump truck actually tilts when a knob is turned.

This dump truck is pretty good for riding too!

Day 2: Buddy, my big boy, wanted to make a sign. I provided him with an old vinyl picnic table cloth (so it’s waterproof) and now all the sibblings are helping.

We hung that sign.  “Kids at Work” sign is up and now it’s official!

Now the three kiddos record their fun in their journals.

Here’s Buddy’s journal entry for his time at the Kids’ Construction Zone. He was told to draw a picture and write about it. This is his effort in sounding out words. In the meantime, Chico and Mei were just drawing whatever came to mine like apples and bananas.

As an extension, your kids might like:

Mike Mulligan and His Steam Shovel.

For more  great ideas on outdoor activities, visit Flights of Whimsy.

And there you have, an outdoor activity that’s fun, inexpensive, and a great learning tool.  Do you have your own that you would like to share? Please comment. 
Teach Your Child to Ride a Bike

When you first learned how to ride your bike, how many times did you fall? Did you scrape your elbow?  Did you wish it would just end?  Or you and your parents just gave up?  Well, if your experience was anything like most, it was not good.  Since my kids love to bike, Bubba and I wanted to teach them how to ride a bike and enjoy the experience.  So, we found the perfect method and we were thrilled.  We were so excited that we had to try it the following day with our five-year-old boy.  Guess what, within one hour, he was able to ride his bicycle without any training wheels or any assistance from us.  Matter of fact, the only assistance that we gave him were our words; we taught and encouraged him.  This whole new technique worked so well that we showed our friends and they were able to teach their 7-year-old daughter how to ride her bike.  She picked it up in less than 15 minutes.  No pain, no crying, no blood, just great memories.

Teaching your child to ride a bike:

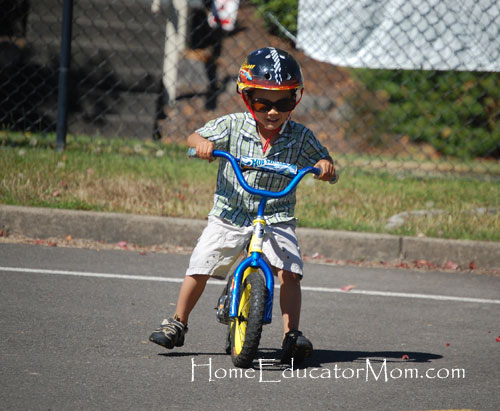
1. Find a safe place that is not on grass or any soft surface. We went to our neighborhood school parking lot on the weekends so it was empty. This parking lot is a great place because it’s paved and it’s slightly sloped.  The slope will help in step four.

2. Remove the training wheels and the pedals.

3. Lower the bike seat so that your child would be flat footed when he is seated.


4. Starting at the higher end of the sloped parking lot, tell your child to scoot along to get a good feel of the bike.

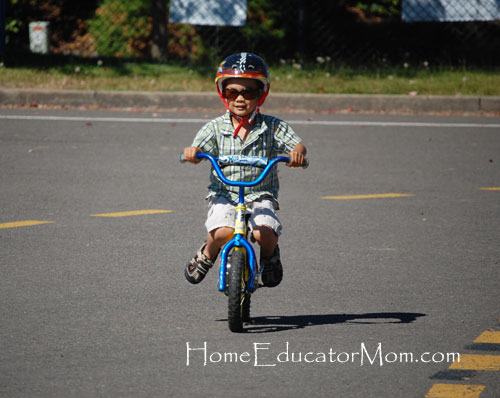
5. Once the child is comfortable scooting along, tell the child to pick up his feet and coast.  If the child feels like he’s going to fall, tell him to put his feet back down to the ground to regain his balance.  Continue to do steps 4 and 5 until the child can coast comfortably without losing balance. Remind your child to look straight ahead and not down at the ground. The goal in steps 4 and 5 is to learn how to balance.  We did this with our 5-year-old boy for about 40 minutes.  The 7-year-old girl that we taught this to picked it up in 10 minutes.  Once the child learns how to balance on the bike, then the hard part is over!

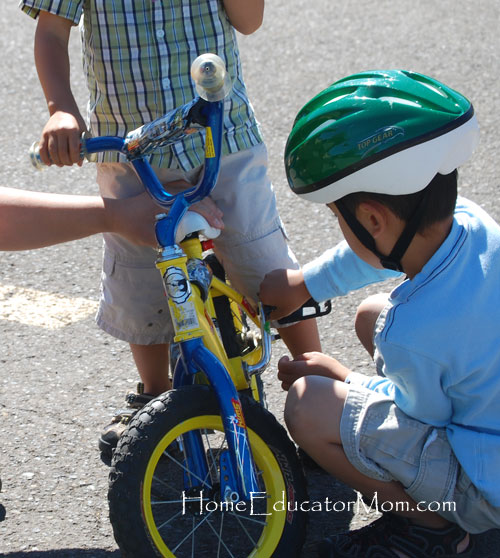
6. If you feel that your child got the balancing act down, and seemed like he’s having fun, put his pedals back on and repeat steps 4 and 5 again.


7. Now show your child how to start his bike. Have your child start coasting down the hill and when he feels comfortable, lift both feet on the pedals and start pedaling. (An alternative is to have him put one foot on the ground, the other push on the high pedal that you’d have adjusted so that one pedal is higher than the other to create momentum.) If your child can start his bike, he’s on his way to be a biker!


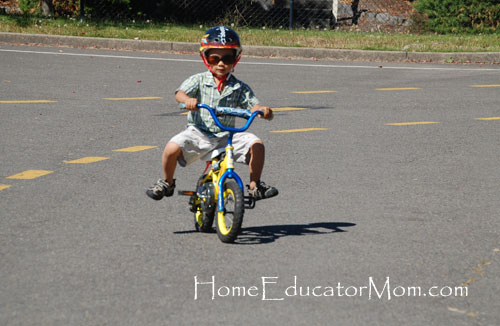
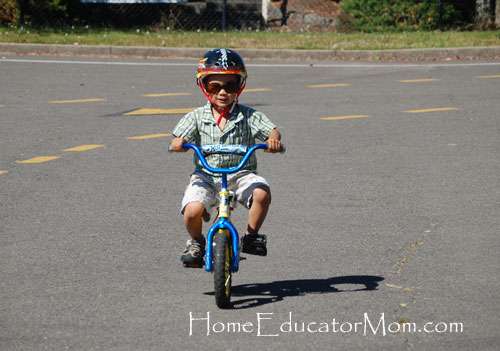
Here’s how Chico got his feet on the pedals!

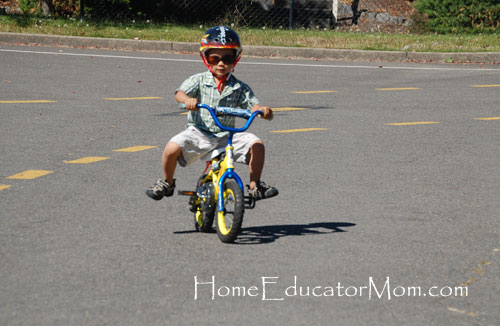
He’s biking!

 I’d love to hear how you taught your kiddos to ride a bike. If you used this same method, please share your experience with us in the comments.

References:

REI Teaching Your Child to Ride a Bike Video


Nature’s Bounty Green Juice

Today we picked some tomatoes and kale from our backyard and decided to make our Nature’s Bounty Green Juice. If you’re in the Northwest, it’s apple and pear season so now’s a great time to add your apples and pears in your green juice. If you don’t have any pears, just use two apples instead.  Here’s what we did. See recipe below. Recipe makes about 30 fl. oz or 1000 mL. depending on the size of your juicing carrots and other vevggies. New to juicing? Click here to see the benefits of vegetable juicing. Do you have a favorite green juice recipe? Please share!


Ingredients:

2 celery stalks

2 kale leaves (ribs included)

1 small Gala apples

1 Bartlett pear

1 small tomato

Small piece of ginger (optional)

10 juicing carrots


Help Children Change Their Hearts

This article changed the way I communicated to my kids when they do something wrong.  My initial reaction to them when they did something wrong was to show frustration and with a stern voice I would disciplined them. I got tired of reacting like this because I felt that this was not very God honoring and it does not reshape their behaviour.  So, now, I would say to them, “I am very sad that you this…” or “Mom, is very sad because you did…”.  At times, I would catch myself reverting back, but I would stop myself…I am learning still.

Here’s the article and I would love to hear your comments.


Help Children Change Their Hearts

Too often parents focus only on behavior, getting the right actions down, but they don’t address the heart. Jesus criticized the Pharisees, saying that they looked good on the outside but their hearts were still not changed. He said, “First clean the inside of the cup and dish, and then the outside also will be clean.”

Focusing on behavior change is not enough. Many parents work hard to help their children look good on the outside. Inadvertently, these parents teach their children “image management” the ability to appear good, clean, and nice. A change of heart is what children really need though.

Unfortunately, you can’t force children to change their hearts. But we can do a lot to motivate them to make the necessary changes. We’ve identified several tools that, when used properly, address the heart. First, use sorrow instead of anger in the discipline process. Parents who misuse this technique often lay a guilt trip on their children. The key is to be genuine. If you, as a parent, look past your anger for a moment you will see that you truly are sad about what your child has done because you know the long-term consequences of such behavior. Reflect it in a gentle way. It’s amazing to see how children will respond.

Another way to influence a child’s heart is to use the scriptures. The Bible has an amazing quality, the ability to pierce through to the thoughts and intentions of the heart. Don’t use the Bible in a harsh way. Instead reveal what the Bible has to say about being kind or respectful or obedient. There’s a lot of wisdom and conviction that comes through the scriptures.

Be sure to talk about the heart during times of correction. “I can see you’re angry because I said no, you need to take a break for a bit and settle your heart down and when you’re ready, come back and we’ll talk about it.” It’ll take work and a child may need some long times to settle down at first, but a change of heart is worth it in the end. Resolve the tension by having a Positive Conclusion together. Talk about what went wrong and why it was wrong. Address heart issues, not just behavior and help children see things from a deeper perspective.

You may think of some other ideas but whatever you do, don’t rely on simple behavior modification techniques. They don’t go deep enough and often don’t address the real issues.

To learn more about how to help children change their hearts, consider the book Home Improvement by Dr Scott Turansky and Joanne Miller, RN, BSN.

If this tip was sent to you by a friend and you’d like to continue to receive tips yourself, you can sign up at http://www.biblicalparenting.org/parentingtips.asp.

Like us. Tell us. Follow us. Share us with your friends.