Search Results for: no carve

No-Carve Pumpkins

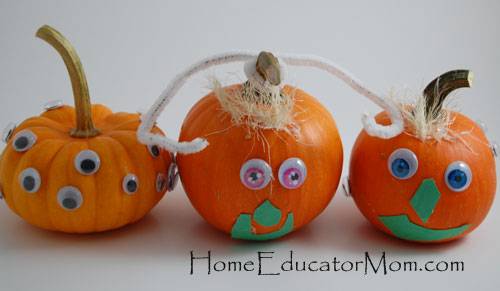
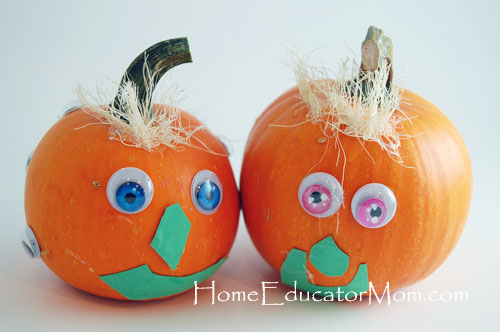
My three kids love crafts, so what better way to celebrate this pumpkin season with some fun pumpkin crafts. I bought some mini pumpkins and provided them with some craft material and here’s what we came up with.

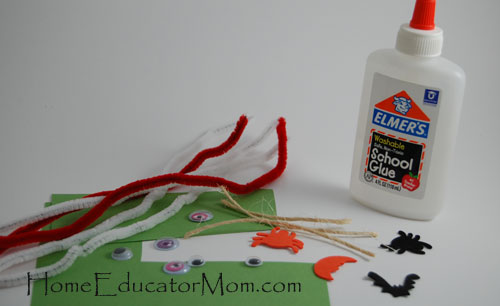
Materials: Pipe cleaners, school glue, googly eyes, scraps of paper, strings, foam stickers or whatever leftover craft material you have at home will work.

I squeezed out some glue on a piece of scrap paper and using strips of scrap papers, they applied glue as they needed. Buddy cut out mouths and noses out of the green construction paper for everyone. But Mei decided to just glue googly eyes all over her pumpkin. Buddy added some arms to his pumpkin with pipe cleaners. The boys wanted some hair for their pumpkins, so I untwined some gardening strings and hot glued some hair for the boys. If you have never worked with a hot glue gun, it gets pretty hot, so please be careful when working with young children.

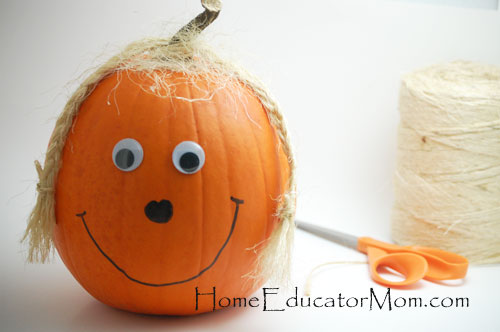
Here’s a little girl pumpkin that I made with googly eyes, black permanent marker for nose and mouth and gardening twine for braid.

Do you have a favorite craft for the fall season to share. Please post in the comment section.
Easy Pumpkin Carving Ideas

No-carve pumpkin designs are definitely easier and cleaner than your carved ones, but with the right tools, carving a pumpkin is not too difficult.

Tools:

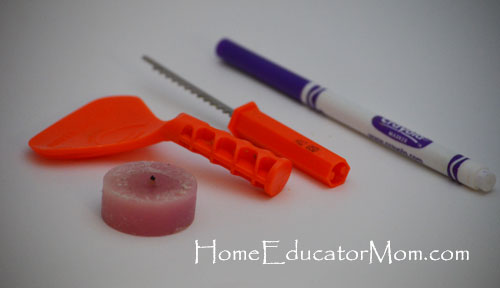
 You should be able to find these at Walmart or Target stores. They even carry these carving tools at the Dollar Tree stores. Amazon.com also sells them if you prefer to shop online. I got these tools at the local dollar tree for…well…you guessed it…a dollar (no tax in Oregon).

Instructions:

1. Cut a hole in the top for the lid. Make sure to angle the saw inward so the pumpkin lid remains seated on top instead of falling through.

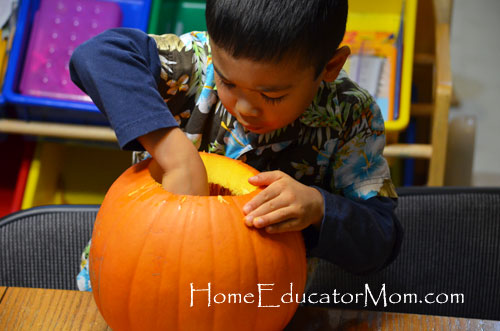
2. Scoop out the seeds and strings. My boys used their hands to pull them out.

3. Some people like to scrape out some flesh around where you’ll be carving to make the carving job easier, but, Bubba didn’t do that.

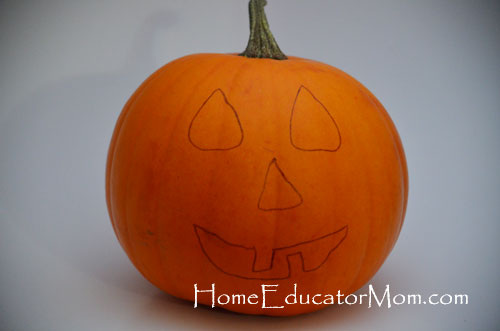
4. Using a washable marker, draw your design and carve. There are tons of free templates available online. But we wanted to make it simple and easy so we just used a washable marker and drew our own designs.

Here’s one design:

Just a two-teeth happy face.

 Using his hands, Chico pulling out seeds and strings.

Over here, pumpkin carving is a family affair.

You noticed the little pumpkin got a round nose instead of the triangle one that I drew? Well, I changed my mind. So that’s the beauty of using washable markers. You can easily wipe off and redo your design.

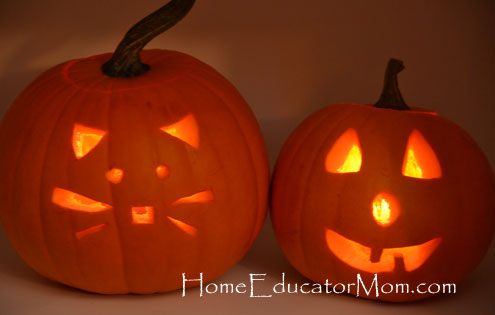
Kitty and Happy Face sitting side by side.

As a companion to this activity, your family might like to read The Pumpkin Patch Parable by Liz Curtis Higgs . This children’s book is great for Christian families that wish to bring the Christian perspective to Halloween. To read the complete synopsis see my post on 10 Fall Books for Children. Another great book I highly recommend is How Many Seeds in a Pumpkin? by Margaret McNamara. A great way to introduce estimating and counting your pumpkin seeds.

Have a happy and safe Halloween!

Cinderella Pumpkins and More

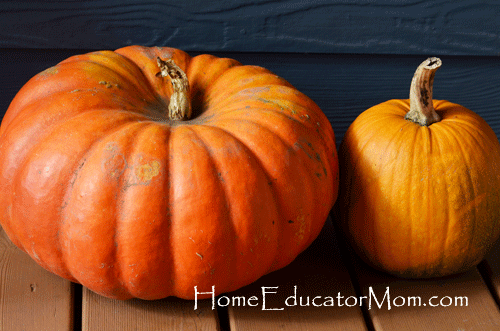
This past weekend I picked up two different varieties of pumpkins from my local farm stand that are great for baking. So I decided to have my photo session with Cinderella and Sugar Pie. I’ve also included some pictures that I took at a pumpkin patch. Hope you’ll enjoy them!

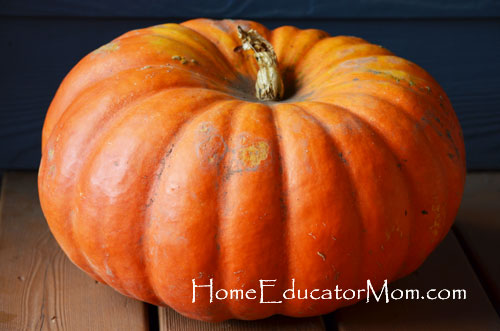
Cinderella pumpkin, great for baking.

Cinderella and Sugar Pie pumpkins, great for pies.

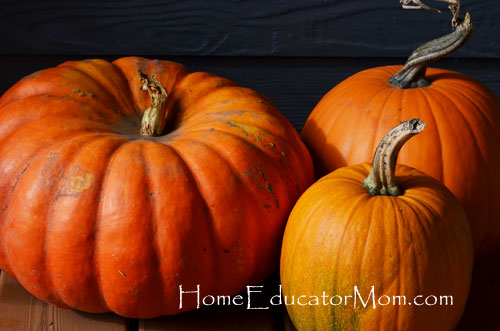
Left: Cinderella pumpkin, Rt. Back: Carving pumpkin, Rt. Front: Sugar Pie pumpkin.

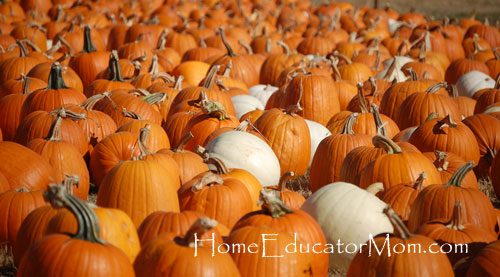
Pumpkin patch with orange and white carving pumpkins.

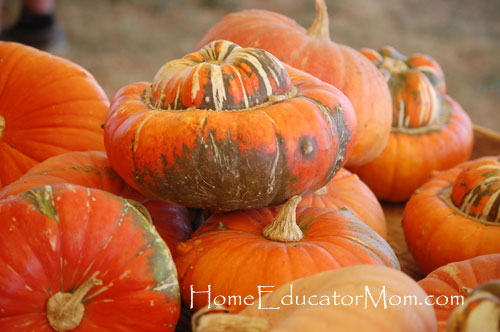
Aladdin’s Turban Squash with its striped hat.

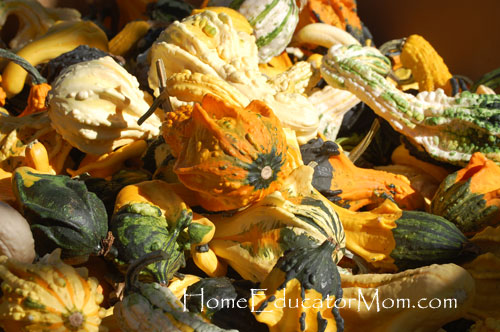
Ornamental Gourds.

For some fun and easy no-carve pumpkin ideas, click No-Carve Pumpkins. For other fun fall ideas, click Fall Leaf Rubbings, Fall Nature Walk, and Fruit Stamping.