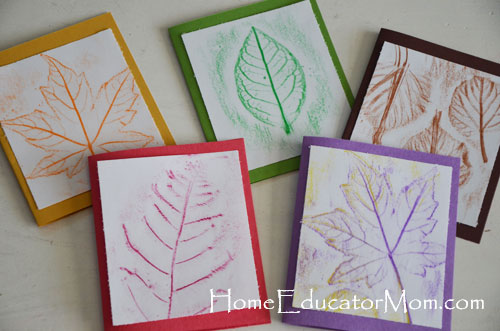
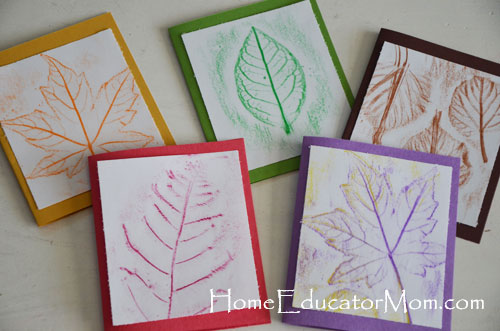
If you have not done leaf rubbings before, it’s a fun and easy activity for you and the kiddos. For you, it’s not messy making cleanup a breeze. Also, you can transform the product into notecards or thank you cards. For the kids, it’s an art project that is easy to learn and fun for all ages! Here’s the process and how I made the thank you cards.
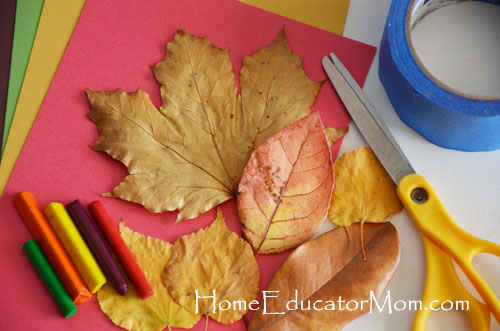
Materials:
fall leaves (preferably flat ones)
tape (any kind)
scissors or sliding paper cutter
crayons (without paper wrapper)
thin white paper
colored construction paper (or other colored card stocks for notecards): Optional
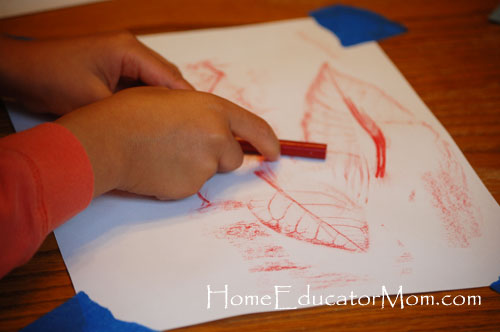
Put a leaf or leaves facing down so veins are facing up. Put white paper on top of the leaves. Tape down the paper corners to hold it in place.
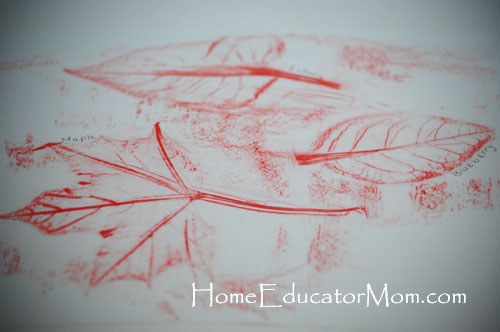
Rub the side of crayon where the leaves are.
Beautiful leaf rubbings framed or simply tacked onto your bulletin board for a touch of fall.
I trimmed some leaf pictures and pasted them onto precut construction-paper notecards.
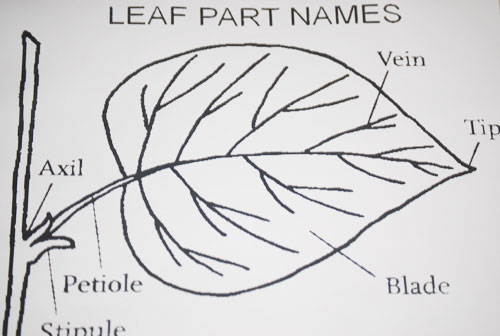
For further study of leaves, being the homeschool mom, I printed out this leaf-part diagram and used it as a study tool. I went over it with my kids before starting this craft project. They decided to color this page after their leaf rubbings.
Click Leaf Part Names for a copy of this leaf coloring page.
For beautiful pictures of fall leaves, check out children’s books Leaf Man by Lois Ehlert and Leaf Jumpers by Carole Gerber. For a list of fall books for children, read 10 Fall Books for Children.
What fall activities does your family enjoy? I’d love to hear from you. Please share in the comments.
 Hi, I'm Betty and welcome to Home Educator Mom. Whether you are a homeschooling family or not, we’re all called to be our kids’ first teachers. Our desire here is to encourage moms as we walk this path of training and equipping our children. We hope you will stay a while and join us on this journey: learning and sharing life together. Meet our



Thank you Ana! I hear ya sista!