Edible Snowflakes

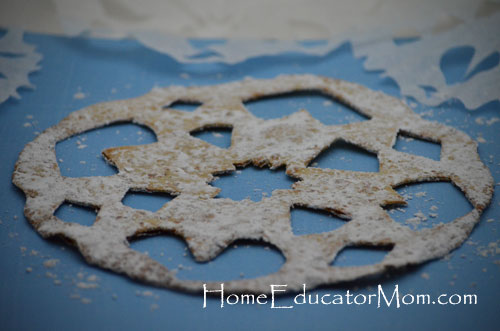
In keeping with the season and continuing on our reading of Snip, Snip… Snow! and other snow books, I decided to do an edible snowflake activity with the kids. They had a fun time and the best part was eating it.  Here’s how:

Ingredients:

Flour tortillas, any vegetable oil (I used grapeseed oil), powdered sugar, parchment paper.

Instructions:

Preheat the oven to 400 degrees. Microwave the tortillas for about 10-15 seconds until they are soft and warm. Fold each tortilla as if you were folding paper or coffee filter to make a snowflake. Read this post Snip, Snip… Snow! on how to cut snowflake instructions. Use kitchen scissors to cut shapes…just like you were using paper. Unfold the tortilla. Lay parchment paper on cookie sheet and brush oil on both sides of snowflake. Bake the snowflake on the cookie sheet for about 5 minutes or until it’s lightly browned and crisp. Remove from oven and sprinkle with powdered sugar or any other edible toppings you would like. Now, enjoy this yummy treat!

Note: In my quest for healthier options, I tried using whole wheat tortillas, but sadly they tasted like chewy cardboard, so you’re better off sticking with your white flour tortillas.

For instructions on making colorful snowflakes, read this post Colorful Snowflakes.

Recipe adapted from MamaJenn.


Colorful Snowflakes

As an extension activity to Snip, Snip… Snow! by Nancy Poydar, we made some coffee filter snowflakes. Instead of leaving it white, I asked the kids to use their imagination and mix the colors that we have been learning at home.  This was a fun and interactive activity that I am sure your kids will love as well.  Here’s how…

To start, click my post Snip, Snip… Snow! for instructions on how to make some white coffee filter snowflakes.

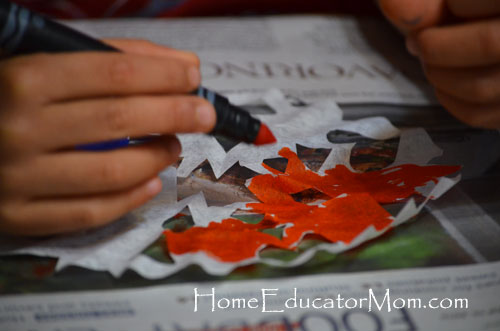
Once you have your precut white paper snowflakes, children can use any color of markers to draw on the snowflakes. The great thing is, no particular design is needed.

Chico’s working on his. I put newspaper underneath the snowflake to keep the ink off the table.

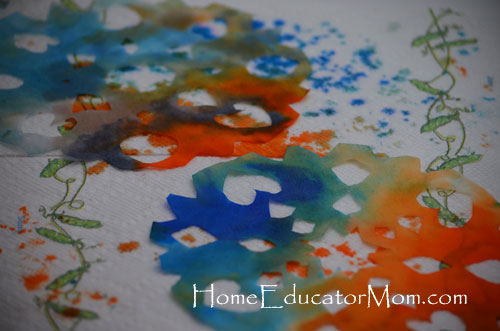
After adding some colors to the snowflakes, using a spray bottle and spray the snowflake until the colors start to blend. Here’s a couple of ways to do this part. Lay snowflake on cookie sheet and have your child spray or an adult can take the snowflake to the kitchen sink and spray it. Let the wet snowflakes drip dry in your hand. Then set it flat on some paper towels to dry.

Wet snowflakes laying flat on the paper towels.

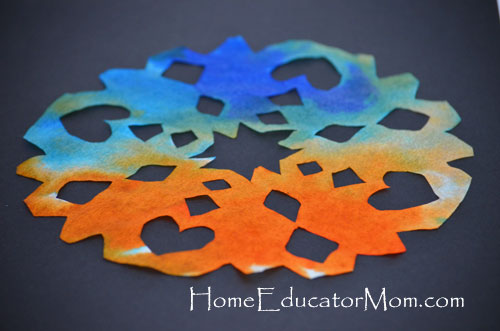
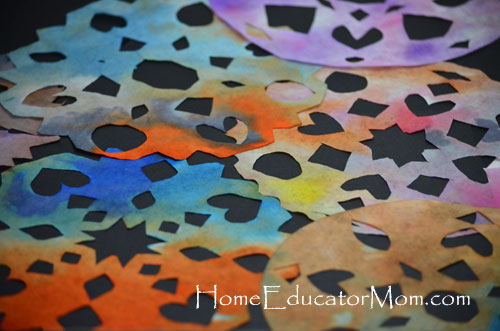
Our beautiful work of art: colorful snowflakes!

Adapted from A Story + Art = A Great stART. For More stART stories, visit A Mommy’s Adventure.

Snip, Snip… Snow!

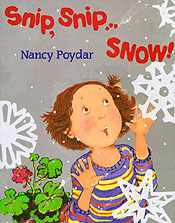
 My kids look forward to a winter wonderland every year. They like to catch snow with their hands, taste the snow with their tongues and create their own snowmen with things they find in and outside our house. So, when I borrowed this book, Snip, Snip…Snow, from the library, I knew that they would love reading it.  As a home educator, of course, I like to make every experience a learning one. And what better way to turn this language arts lesson into art.

Snip, Snip… Snow! by Nancy Poydar is about a little girl, Sophie, who longs for snow. Sophie was excited to hear the forecast predicted snow, but was disappointed when she learned that the forecast was wrong. In the meantime she and her classmates made beautiful snowflakes in class. As she was cutting her pretty snowflakes, real soft snow drifted from the sky. This is a delightful story. The book includes instructions on how to make your own paper snowflakes.

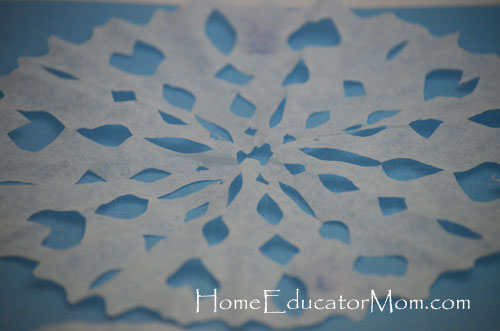
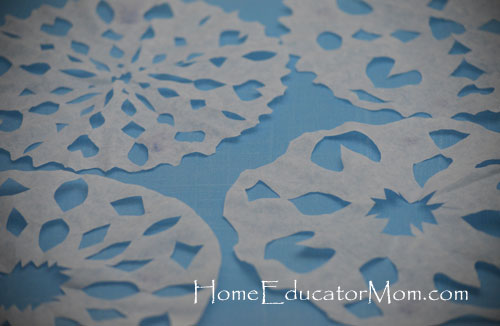
As an art extension, we made these snowflakes:

Materials:

1. white coffee filters or precut paper circles
2. scissors

Instructions:

Simply fold coffee filter into half 3x and start cutting. Experiment with cutting out different shapes out of the three sides and the pointy tip to see what you get. Unfold and enjoy your beautiful handiwork!

To learn how to make colorful coffee filter snowflakes, read Colorful Snowflakes. Interested in making some yummy snowflakes to eat, click Edible Snowflakes.


Fruits I Love

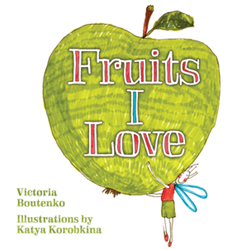
Fruits I Love by Victoria Boutenko. I was so happy to receive this book from a friend. As a mom who loves nutritious foods for her kids, I’m always interested in children’s books that encourage healthy eating. This book is one that makes eating wholesome fruits fun.  The pictures are creatively drawn, very brightly colored and playful. My kids love this book. Buddy’s able to read it on his own and Mei and Chico were able to follow along with the rhyming. For the healthy message that it paints, it’s a book for any age to read or read to. But reading level wise, it’s great for beginning readers to 2nd grade. Below are two sample pages from the book:

Sample page 1:

Pomegranate—jewelry box
But without any locks!
Full of sweet and juicy seeds,
They look like shiny ruby beads.

Sample page 2:

Berries too are precious!
Brightly colored treasures:
They can make incredible
Bracelets that are edible.

As a home educator mom, I took the excitement for this book by the kids and created a lesson around it.  At the end of the lesson, they had a blast and they had fun learning.  Here’s the lesson in details:

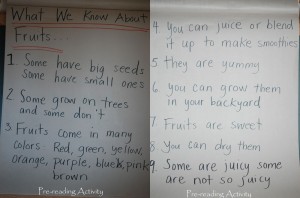
Prior to reading the book,  we did a pre-reading activity. We wrote down what we know about fruits and the results are shown in the picture below. What’s great about this activity is that Buddy can go back and read the print, and he usually does. The other two kids can try to find words and sounds that they know. A great learning tool!

We wrote down what we know about fruits before reading the book.

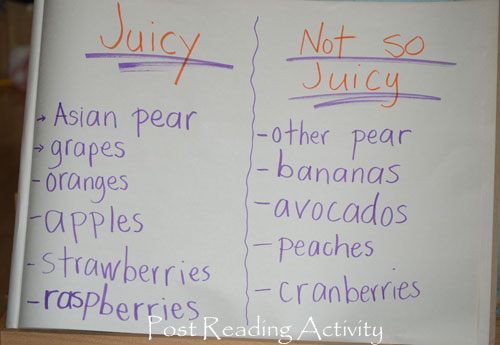
Chico brought up the juicy factor in fruits so I wrote down which fruits the kids thought were more juicy than others. Here you have a lesson on comparisons.

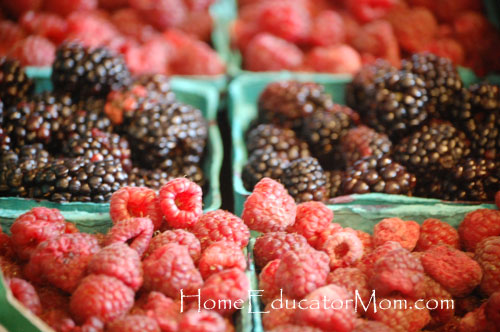
To close the lesson,  we were all treated to some all-natural, farm-fresh Oregon raspberries and blackberries. Yummy to our tummies!

 Fruits I Love can be purchased at Amazon.com or the Raw Family Website.

What other books about fruits that you have come across?

Look for my future posts on fun fruit ideas.